Products and Services
Create the Products
Products are configurable items that are manufactured in an organization or purchased from the vendor/supplier and are sellable. Products can be stored in an organization’s Site/warehouse or a third-party Site/warehouse.
- Navigate to the app menu> Products tab.
- Recently Viewed products will be listed, click on All to see all the available products in the system.

- To create a new product, click the “New” button.
- Enter the Product Name and Product Code.
- Select the Product Family, Category and Sub Category of the product.
- Select the Status as Released and make sure Active checkbox is checked.
- Select the Track Inventory checkbox for all Inventory Products.
- Enter the Product Description and Barcode if any.
- Select Is Kit (for a Bundle/Kit product), Serialise (for a serialized product) and Lot Tracked (for a Batch product) depending on the product configuration needs.
- Save the record to create a product.
Create Price Books
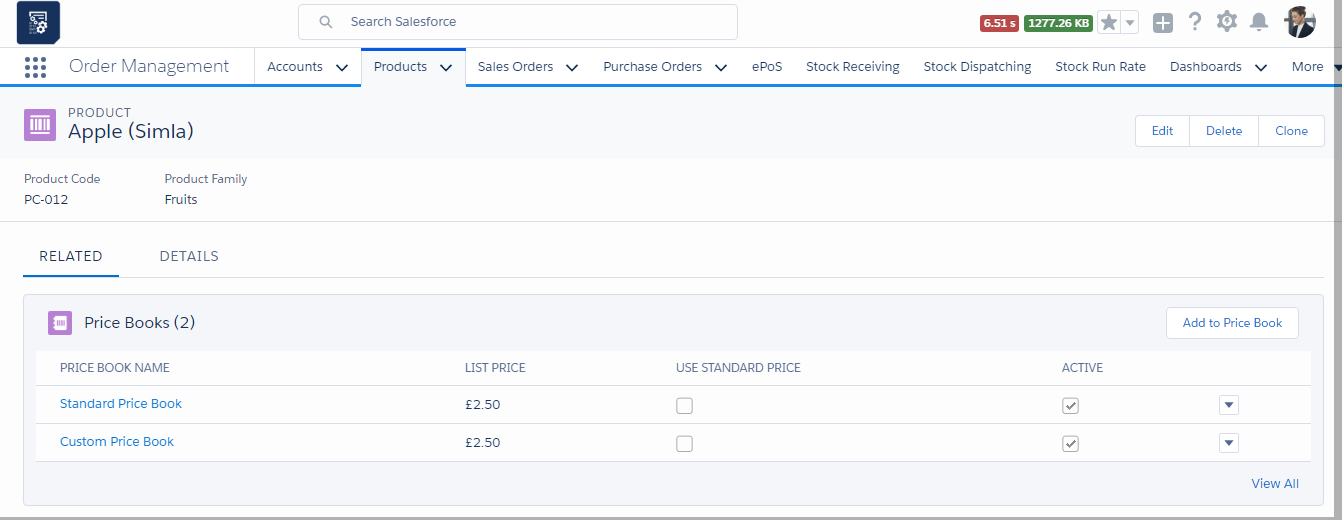
Price books are integrated with the order management module to define pricing for your products. All the products should be given a standard price and added to a custom price book. We can set different price books for different products.
- Navigate to the app menu > Products tab.
- Click open the product to add a price book.
- In the related tab, find the Price Book object and click “New”
- Enter the pricing details of the product such as List price, Selling price, Start date, End date and save.
- This creates a standard price for the product.
- Once a standard price is added to the product it can then be added to Custom Price Books.
- Navigate to the Price Book tab from App launcher to create custom price books.
Create the Inventory/ Stocks for the products
- Navigate to the app menu > Products tab.
- Once in the Products section, select the product to create the Inventory/ Stocks.
- In the related tab, find the Inventory/ Stocks related list and click the “New” button.
- Enter the Organisation and the Business Unit details.
- Enter the Stock Name and select the Active checkbox.
- Select the Status as Checked In.
- Make sure Warehouse and Product are selected.
- Save the record to create the stocks for the product.
Create the Stock Inward Line Item
It is to add stocks to the inventory. It records the stocks for a particular product and is tracked by quantity, it is assigned to Inventory/ Stocks that enables the users to determine and maintain optimum inventory levels.
- Navigate to the app menu > Products tab.
- Once in the Products section, select the products record to create the Stock Inward Line Item.
- In the related tab, find the Stock Inward Line Item related list and click the “New” button.
- Enter the Warehouse Purchase Line Item Name.
- Ensure Site Product Inventory (Inventory/Stock) of this product is selected.
- Add the Serial Number / Material Batch/Lot if the product is serialized or Batch product.
- Select the product, enter the Quantity and select the Active checkbox.
- Save the record to create a stock inward line item for the product.
Adding Cost Cards to Products
- Navigate to the Related list of the product to the Cost Card object.
- Click New and add the Cost Card Name, Cost, Currency, Start Date, End Date, Quantity, Minimum Quantity and Unit.
- Select the Product and Supplier/vendor.
- Select the Organisation and Business Unit and Save.
- This creates a cost card record which can be used when creating a purchase order.