Queue management
Run a well-organized queuing system for organizations with multi-locations. The queue management intelligently uses real-time data to start the countdown to manage the client and ensure clients are attended to within the defined wait time. The queue management system is configured to view the estimated wait time at a glance and generate tokens. Let’s add walk-in appointments and add them to the queue by capturing the client’s basic information like name, phone, email, services, and more. You can manage your queue by following these steps.
Queue management
This module helps to manage the Appointment queues by changing them according to the required time or status.
Let’s take an example of appointments that have already been booked from how to manage them using Queue management.
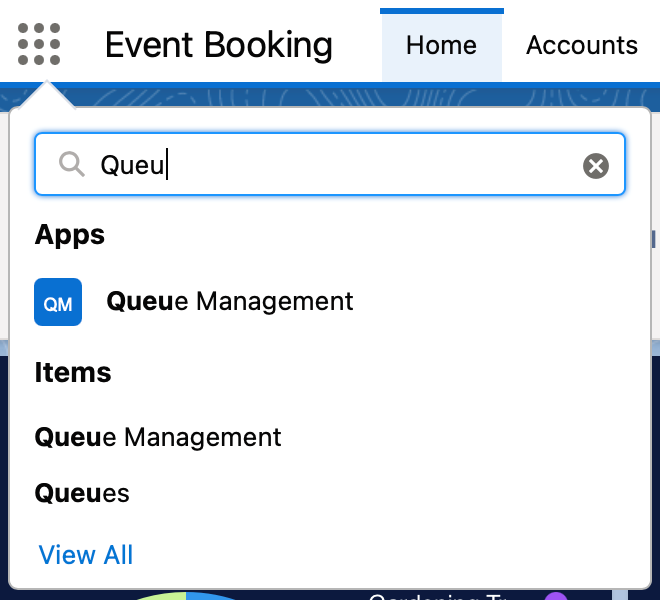
- Search or click on the ‘Queue management’ Tab.
2. The page shows the Filter and details to add a customer to the queue.
- Use a filter to search the queue by location, service, Program, and User.
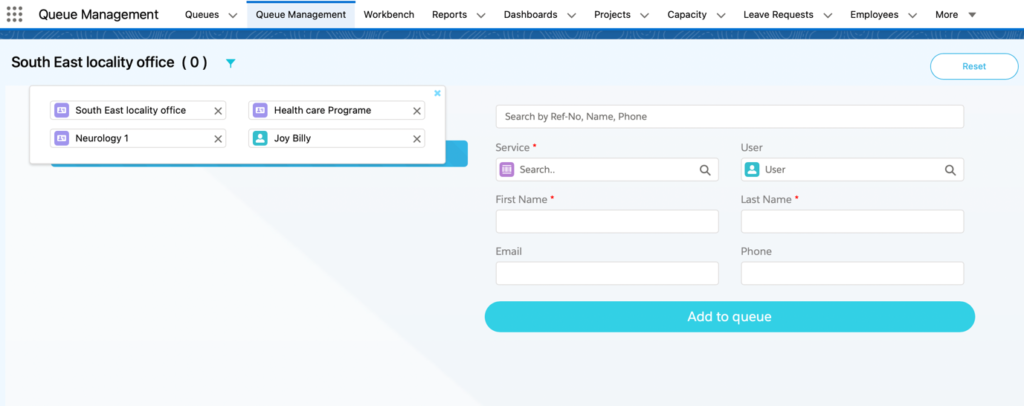
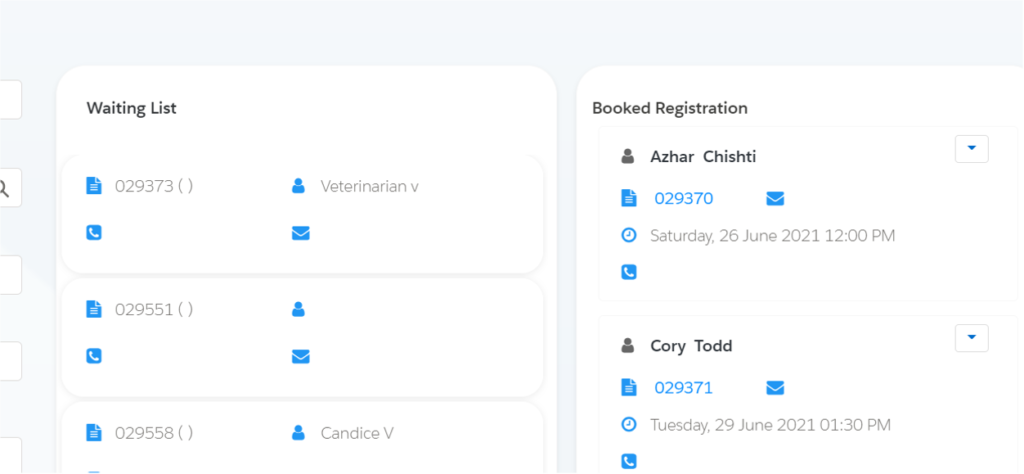
- The screen shows the Appointments in the queue and how many are waiting.
- If you want to add a new appointment to the queue. Search or enter the details and click the ‘Add to Queue’ Button.
- If you want to ‘cancel’ or Mark as ‘No show’ for an appointment. Then click on the dropdown arrow to do so.

- If you want to go back to the Initial view, then click the ‘Reset’ Button.

How to manage appointments in Queue management.
Let’s see with an example.
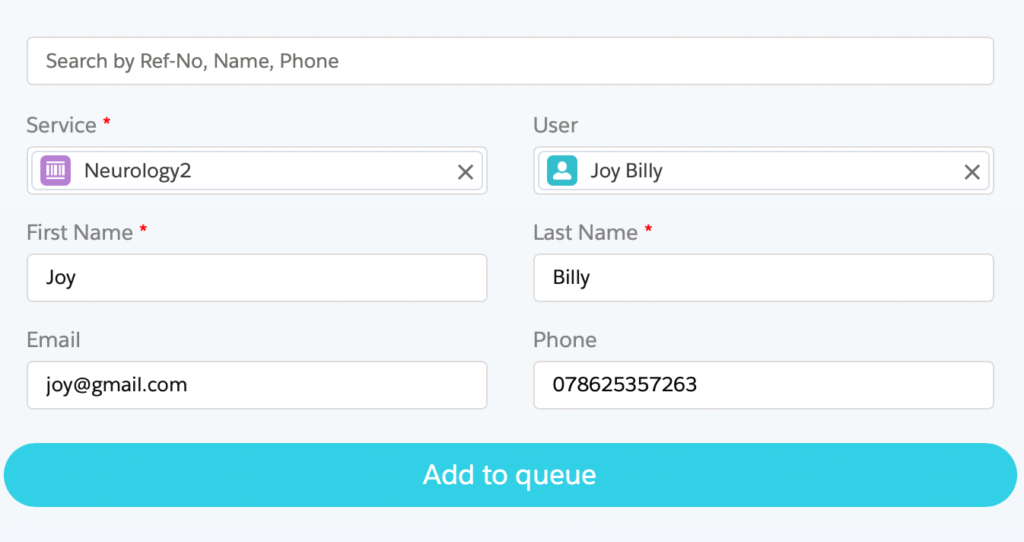
- Select Location, Enter Service, First Name, Last Name then click the ‘Add to Queue’ Button.
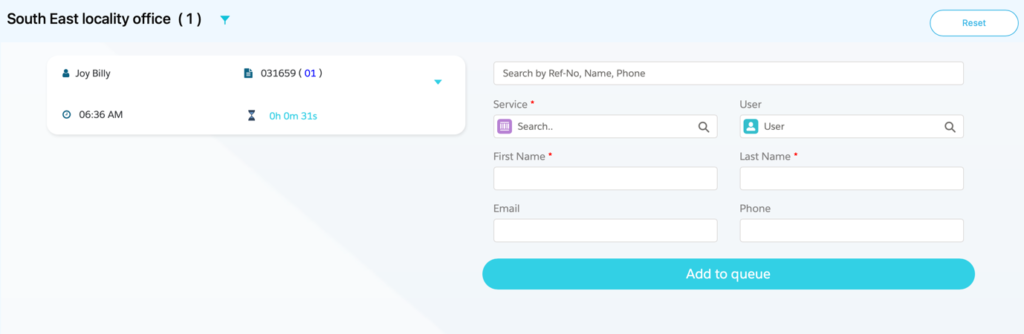
- Cody will be added to the waiting list.

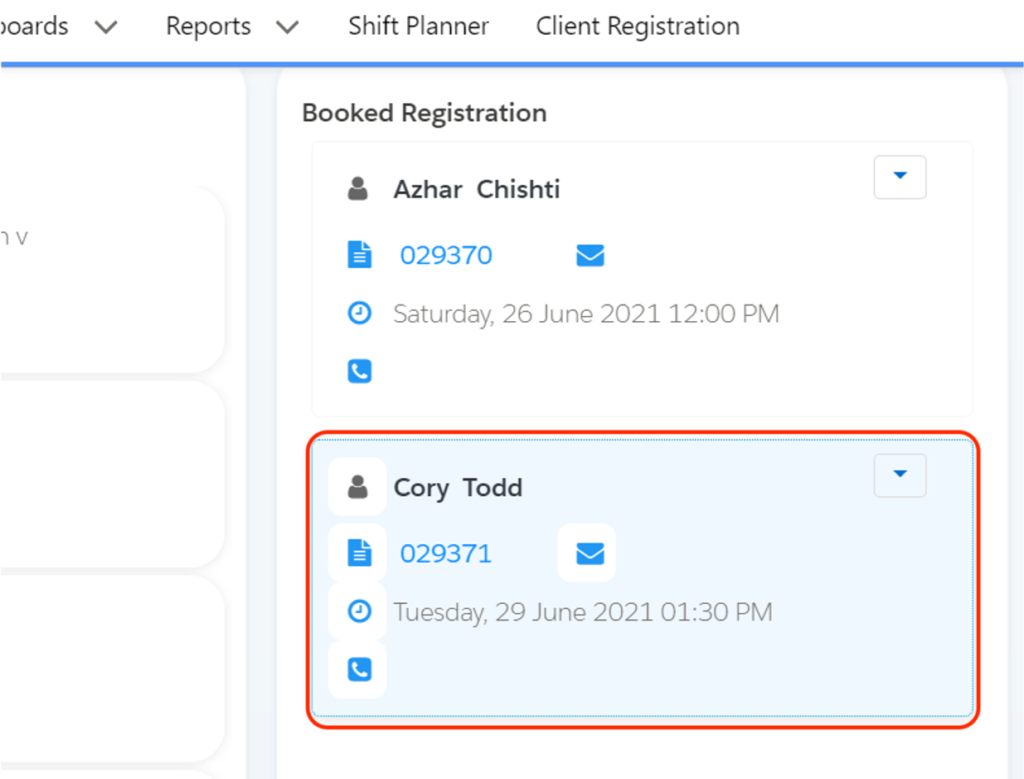
- The registration record now appears in the “Booked Registration” column, with Appointment details.
If you want to reschedule the appointment registration which is in the Queue.
- Click on the Booked registration.
- Change the Details or Time of the Appointment for example.
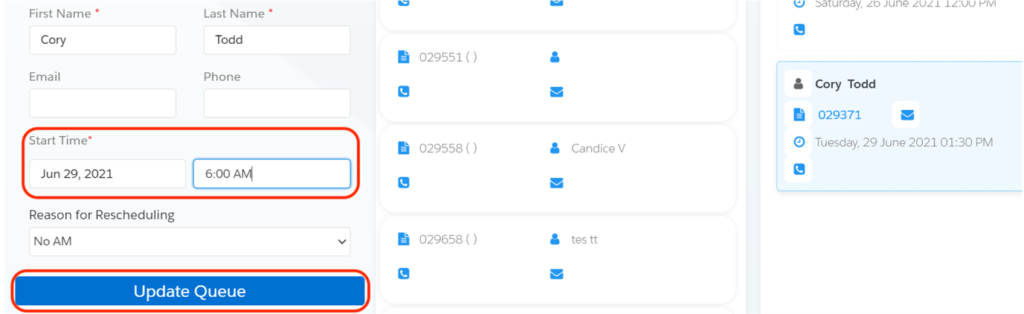
- Click on the ‘Update Queue’ Button.
If you want to cancel the Appointment.
- Click the dropdown button on the Booked registration that you wish to cancel
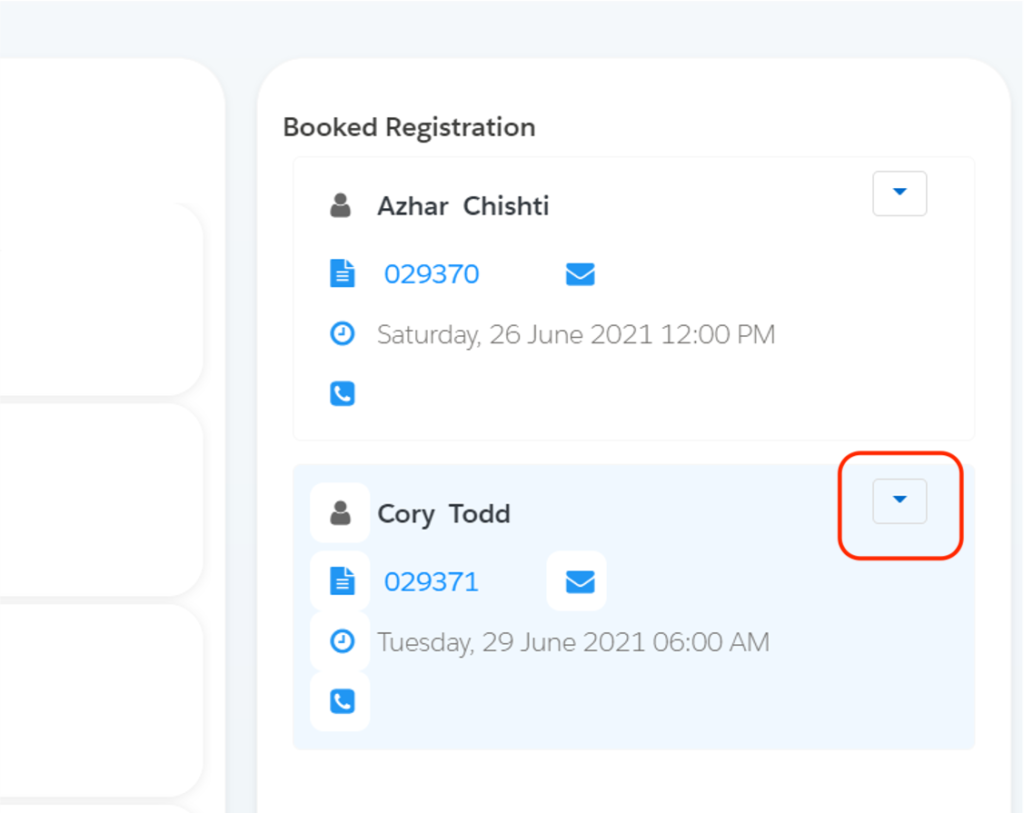
- Select the ‘Cancel’ Button

