User Journey Event Booking Flow
Event Booking
The system admin can configure sites and communities to reach the application offerings to the external audiences. This makes it convenient for guests to book an event.
For the Event flow the customer can book for the event by following these steps:
Step 1
- Logging into the URL provided by the Organiser of the Event https://event-rok-com-developer-edition.ap15.force.com/EventRokAdmin/CommunityLanding
- Click on the URL the page will navigate to the given screen below:
- Click on the Event booking tab on the page it will navigate you to the given screen below:
- you can select your preferred event from the event list.
Step 2
Selecting any event zones
- Click on your preferred event
- And it will navigate you to the Schedule day page.
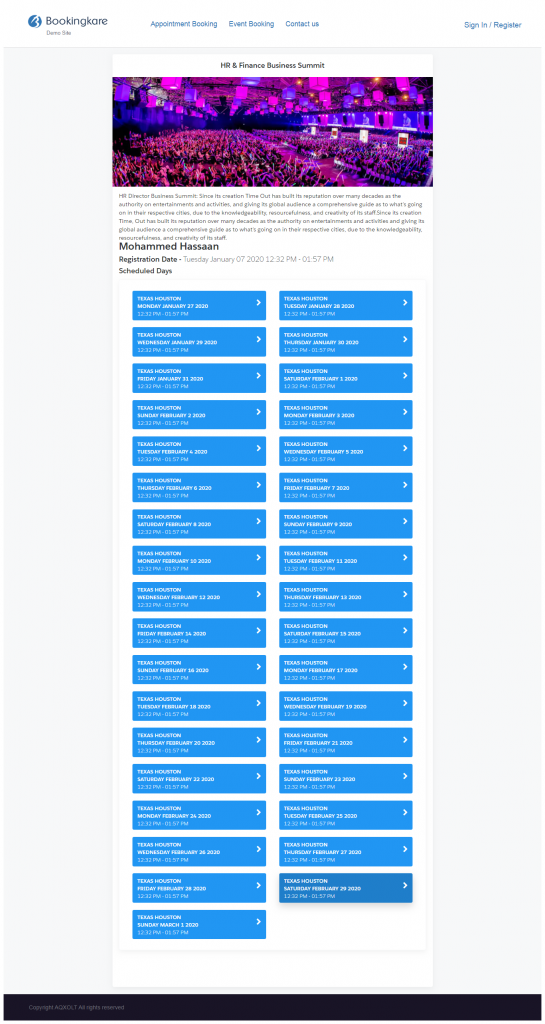
- All the event zones along with the day slots for the event will be shown.
- Select one or more event zones along with the location
- And select any day slots of the event.
Step 3
Enter the Details
- On selecting the day slots.
- It will navigate you to the Details page.
- Enter your details And select the Book Now button.
- Note: Once the booking is completed you will be presented with a confirmation screen displaying that “You have successfully registered!”.
Step 4
Payment process
Note: For the paid event you need to enter payment details here:
- Click on your preferred event, If the event is a paid event, you will be presented with secure card payment details on the screen.
- Enter your details and payment details on the screen.
- The total amount to be paid will also be displayed.
- In the card payment enter the following card details as mentioned above, and click on the payment button and our registration payment of the event booking page will be done.
- Finally, it will navigate towards the registration success page as shown on the screen below
- Clients will also receive Event Confirmation Mail, Invoice, and badge to registered Mail Id
- After the Customer gets the Registration Email, he can cancel or reschedule the registration of the event by clicking on the manage Event button, we have a cancel button if we click on that a popup will appear saying yes or no if we click on yes then the registration of the event will be canceled and the customer gets cancel notification to his email address.
Step 5 Event Confirmation Email
On successfully booking the event, an Event Confirmation email notification with the details, along with the Badge and invoice attached will be sent to the customer’s email address.
Manage Event You can manage your Event by clicking on the Manage Event button present on the email template.
- Click on the Manage Event.
- The page will navigate to the Event Details page which has the following features available:
- 1. Change the Date of the event (Reschedule).
- 2. Update event.
- 3. Cancel the event.

Step 6 Event Reschedule (Change Date)
we have a Change Date button if we click on that we will be redirected to the reschedule page where we have to select the preferred schedule date and time and click on update, Customer gets Reschedule notification to his email address
You can reschedule your event booking according to Your preferred schedule.
- To reschedule the event Click on the change Date button.
- The page will navigate you to the given screen below:
- On selecting the preferred schedule date and time you will be navigated to the screen given below.
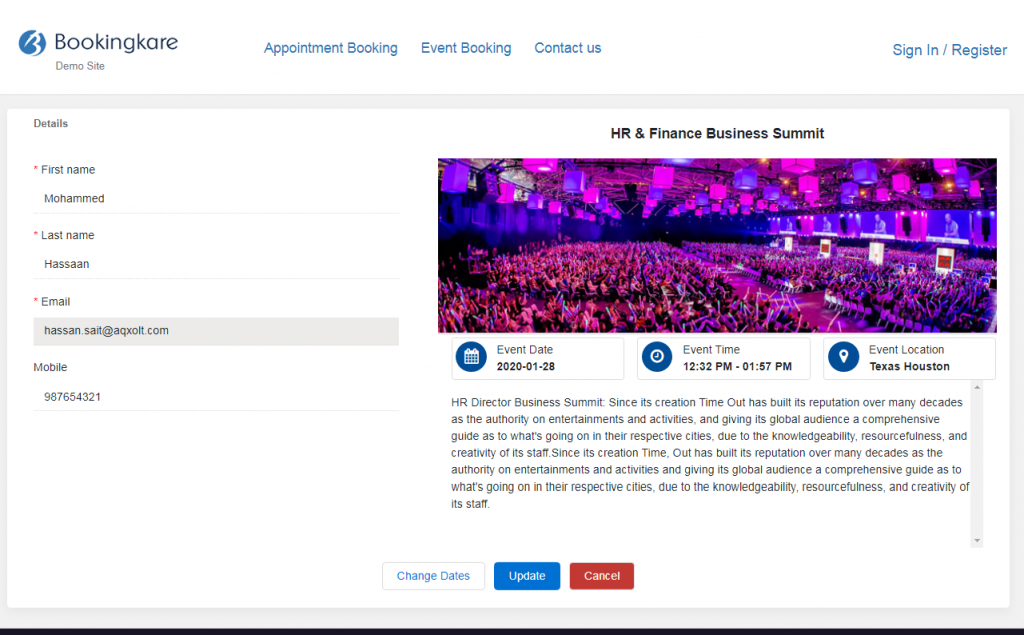
- Click on the Update button.
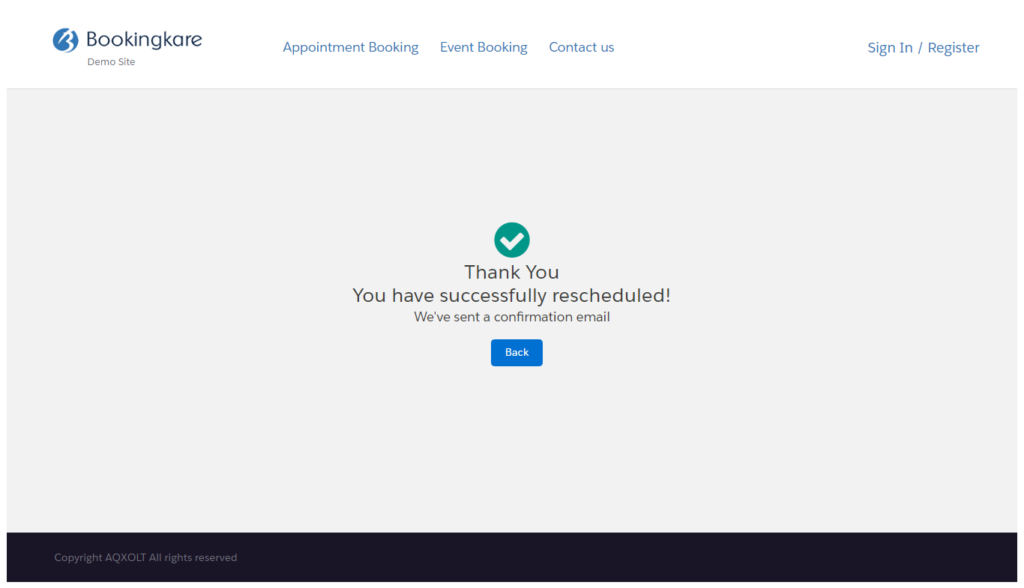
- Your event will be rescheduled successfully and you will be navigated to the given screen below and the customer gets rescheduled notification to his email address…
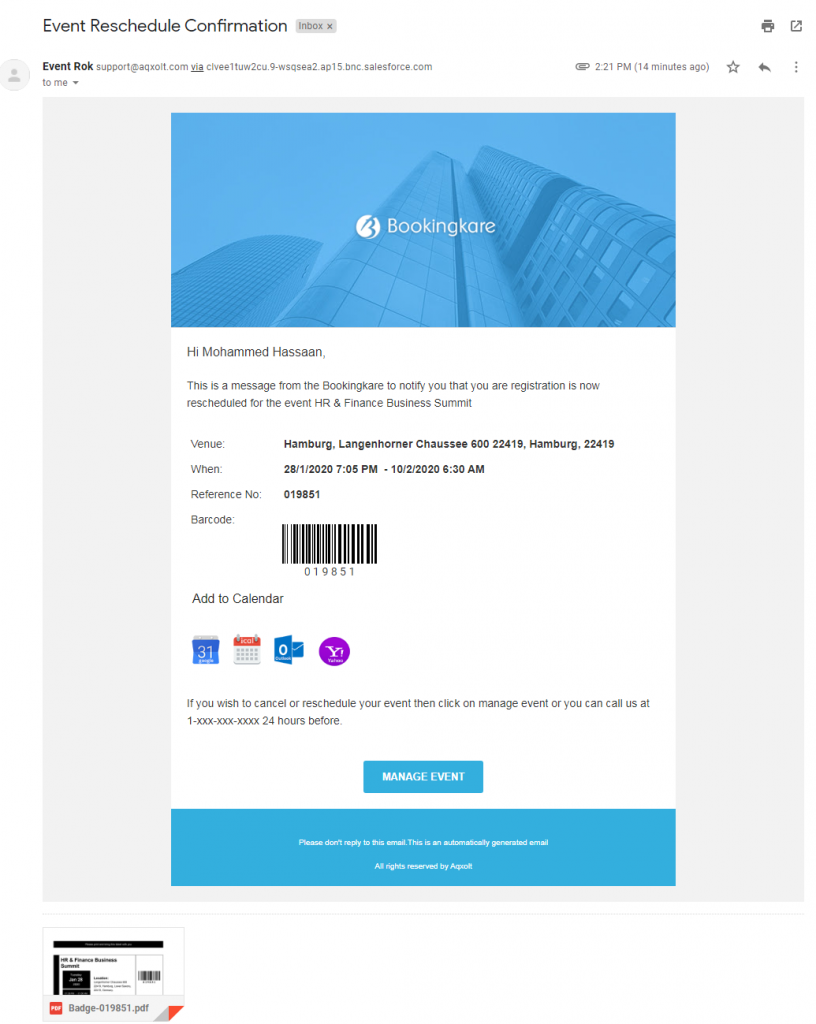
Event Rescheduled Email
- On Rescheduling the Event i.e on Change Date of the appointment.
- The customer gets an Event Rescheduled Confirmation notification to this email address as displayed on the screen below:
Step 6
Cancel Event
we have a cancel button if we click on that a popup will appear by saying yes or no if we click on yes then the registration of the event will be canceled and the customer gets a cancel notification to his email address.
- Click on the Cancel button to cancel your event.
- On clicking the cancel button, The page will navigate to the given screen below:
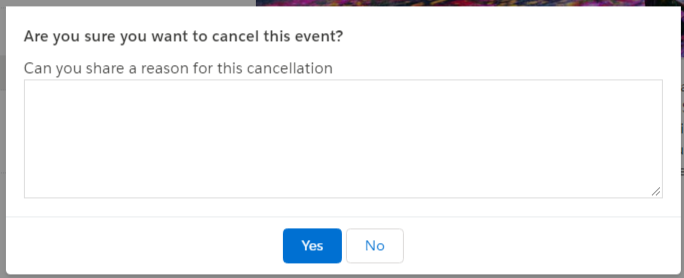
- Enter the reason for cancellation.
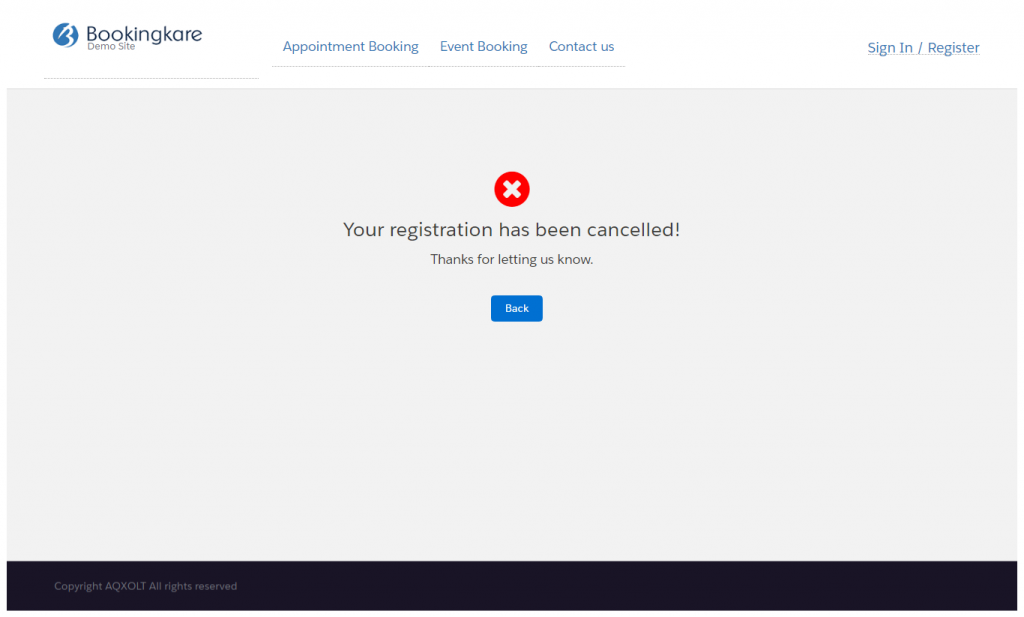
- Click on Yes to Cancel the Booked Event, The page will navigate to the given screen below:
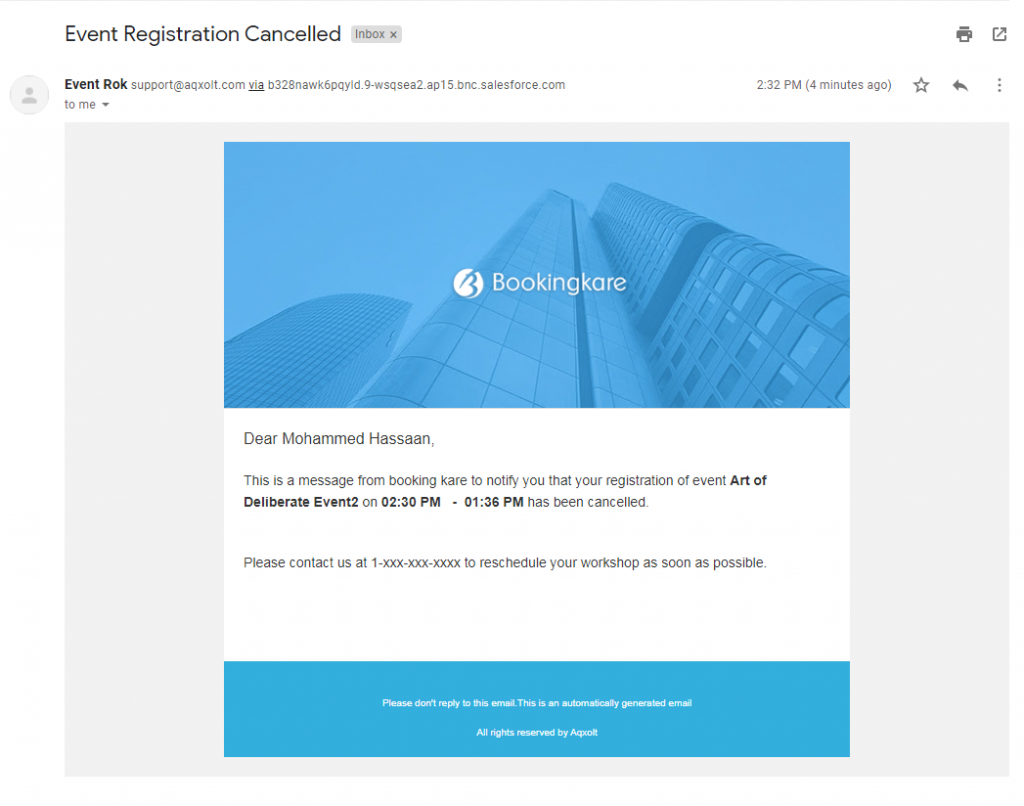
Event Cancellation Email
- On clicking the cancel Event button.
- Event Registration Cancelled email notification will be sent to the customer email address as displayed on the screen below.
