Event Builder
Event Module setup
Start planning and organising a single day or a multi-day event easily, make common customizations like adding zones, tickets, venues and more. Configure registrations to be free or paid with complex pricing rules. Configure discounts and taxes easily with various rules. Configure sponsors, speakers, and agendas and give more insight into the event to manage time with BookingKare’s Event Builder. With the Event Builder, you can reduce administration time and hassles associated with data integrity or booking conflicts.
Once you are in the Event Booking app, you can create your first event by following these steps:
Step 1
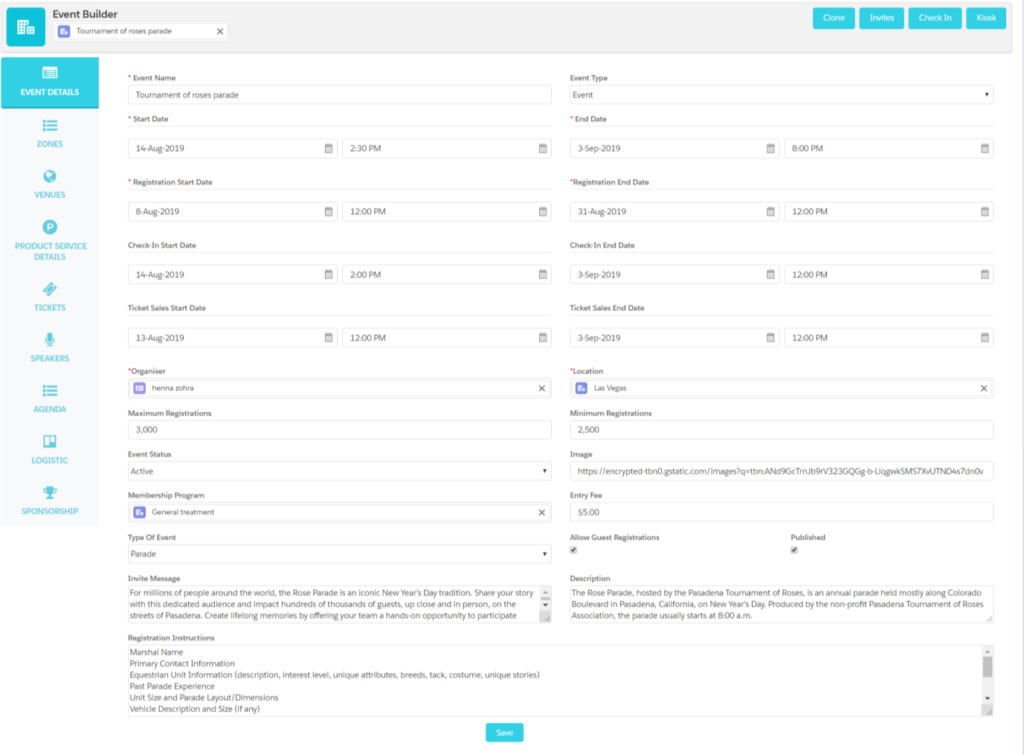
Create an event
- Click on event builder tab and click on event details and enter the following information like enter the name of the event, select event as event type
- Enter the Start Date /time and the End Date /time of an event.
- Enter the Registration Start and End Dates, Check-In Start and End Dates and Ticket Sales Start and End Dates.
- Select the organiser and Location of the organiser
- Enter the Maximum Registrations and Entry Fee if any for the event.
- Select the membership program and description of the event
- Select the published checkbox, this option lets you add the event in the portal site.
- Select the Type and Status of the event and select the Allow guest registrations checkbox, this option lets you add registration from the kiosk.
- Enter the Invite Message and Registration Instructions of the event.
- Click the Save button to create an Event record.
- Once you have created the event you can start adding the zones where the events are held, so let’s start creating the zones.
Step 2
Event zone
- Event zones are nothing but events that can occur in multiple locations based on their availability within the region.
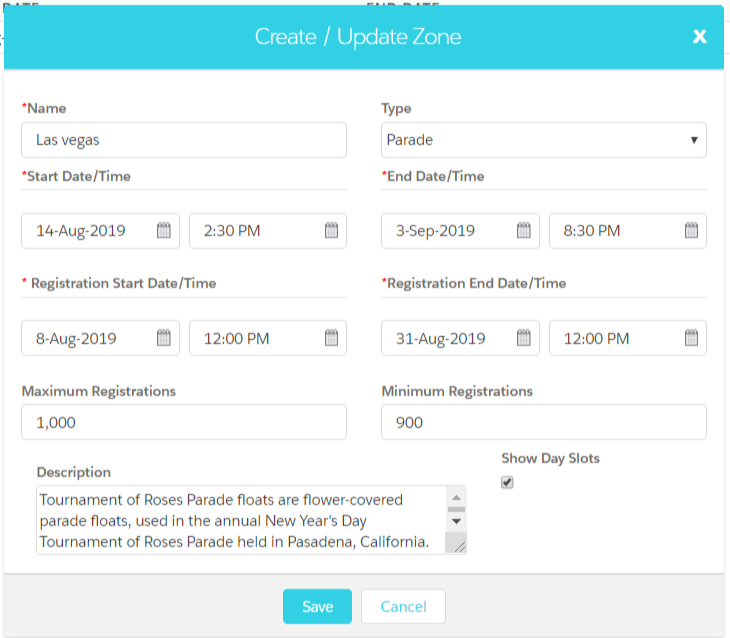
Create an event zone
- Click the Zones tab of the event builder from the menu bar on the left-hand side.
- Click on Add button to create the zones
- Enter the Name of the zone and select the Type of zone being created.
- Enter the Start and End dates of the event and Registration dates.
- Enter the Maximum Registrations and set the maximum registrants at each zone, enter the Descriptions applicable for the zone
- Select the Show Day Slots fields if you want to display the days during booking.
- Click the Save button to create a zone for an event.
Step 3
Venues
- Configure venues, the place where your event is held. When you create a location and assign it to the zone that location information will be displayed on the event detail page.
Create a venue
- Click the Venue tab from the menu bar on the left-hand side.
- Click the Add button to create a new location.
- Enter the Name of the venue and Address details
- Select the event zone and check the active checkbox
- Enter the description of the location
- And click on the save button to save the venue record
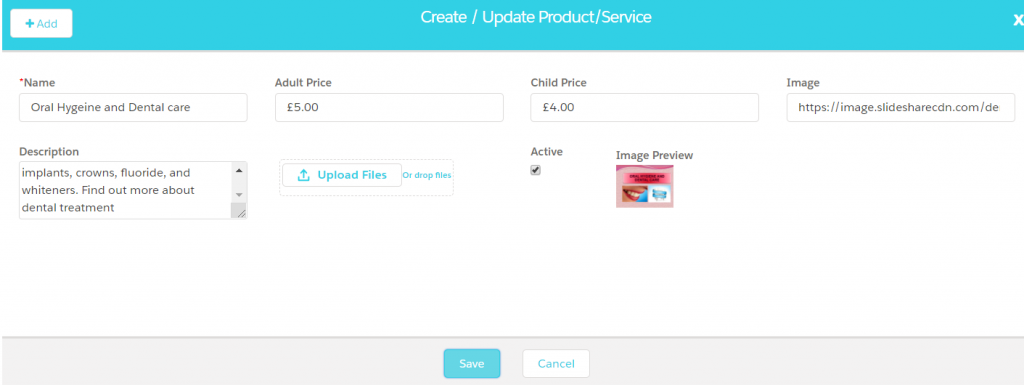
Create Product Service Details
- Click the product details tab from the menu bar on the left-hand side.
- Click the Add button to create a product.
- Enter the name of the product, Adult price, and child price.
- Enter the image URL or you can upload the image from the system.
- Enter the description of the product and check the active checkbox
- And click on the Save button to create a product record.
Step 5
Tickets
- Tickets are nothing but a selling price of an event. And also we can control the number of persons to get register for an event. By using this concept we can distinguish different prices for each type of tickets for adult and child as well.
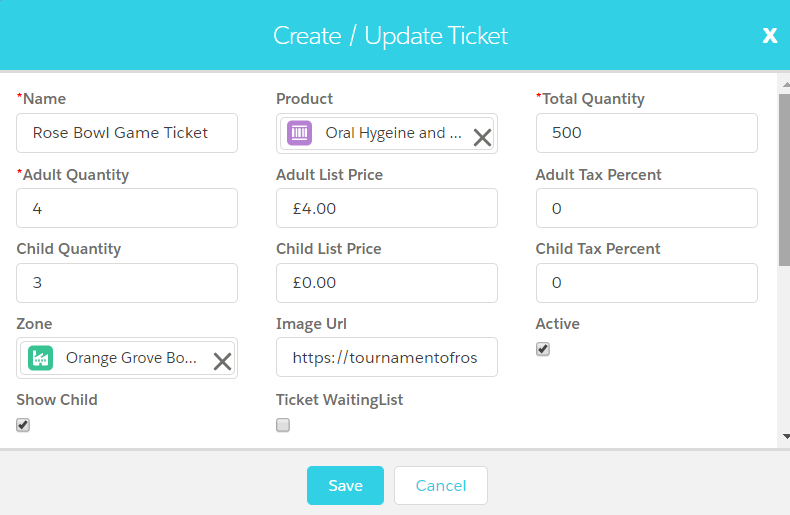
Create a ticket
- Click the Tickets tab from the menu bar on the left-hand side.
- Click the Add button to create a new ticket.
- Enter the Name of the ticket and select the Product to fetch the list price and taxes for both adult and child automatically from the price-book entry of the selected product.
- Enter the Total Quantity, Adult, and Child Quantity, this ensures the number of registrations allowed for an event.
- Enter the Adult and Child List Price and Tax Percent manually if the product is not selected.
- Select the Zone for which the ticket is created is assigned and select the Active checkbox to make the ticket active for use for the selected zone and event.
- Enter the Image URL and select the Show Child checkbox, this ensures the child details are captured in the registration and the ticket price based on the child list price.
- Select the Ticket waiting list checkbox; with this option, you will be allowing registrations even when the number of registration has reached the capacity of the event. The registrations created after the capacity is reached are the registrants with the waiting list status.
- Enter the Ticket Sale Start dates and End dates, enter the Instructions associated with the ticket and upload image relevant to the event.
- Click on the “Save” button to create a ticket for the event.
Step 6
Membership
- Click on the ticket tab related list click on Membership tab
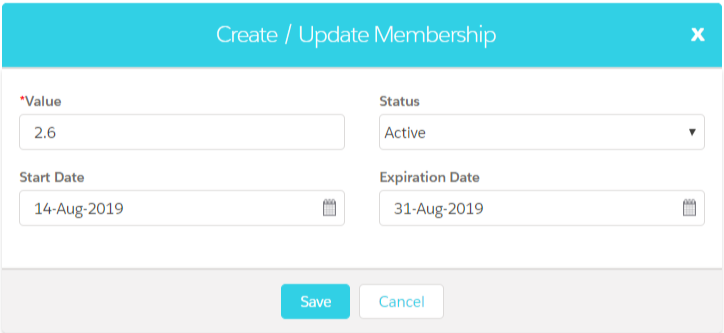
- Click the Add button to create a new membership record.
- Enter the value and select the status.
- Select the start and expiration date of the membership
- And click the “Save” button to create a membership for the event.
Step 7
Speaker
Speaker is a guest of the event, who speaks formally before an audience regarding some of the major things regarding the event and why it has been organised and expressed his ideas towards the particular event.
- Click the Speaker tab from the menu bar on the left-hand side.
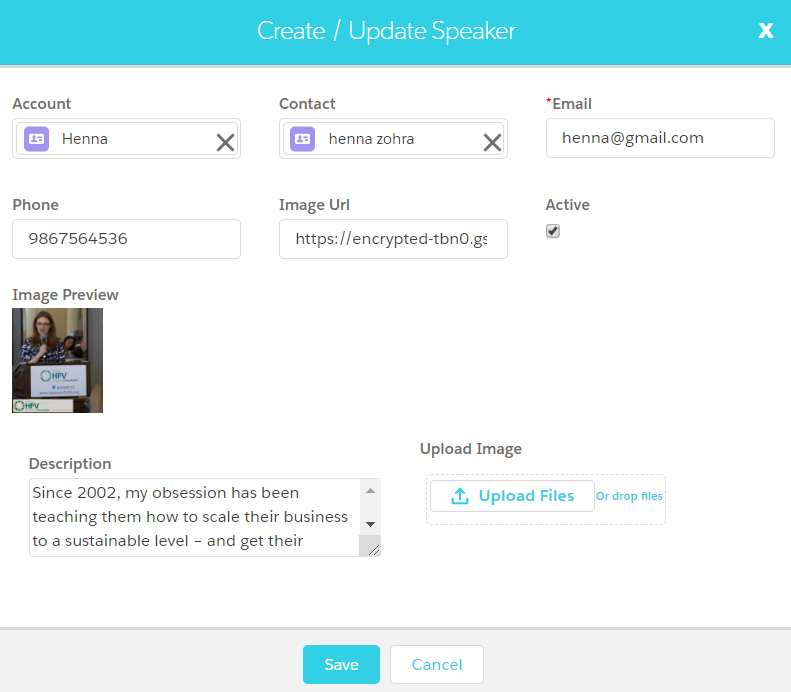
- Click the Add button to create a new Speaker record.
- Select the Speaker Account and Contact, the system will auto-populate phone and email details of the speaker.
- The system allows you to upload the image of the speaker or pre-populates if it already exists.
- Enter the description of the speaker and check the active checkbox.
- And click the “Save” button to create a speaker for the event.
Step 8
Agenda
An agenda for the event can help you significantly in terms of planning and organising the event agenda will clearly specify every action to be held at the event.
Create an Agenda
- Click the Agenda tab from the menu bar on the left-hand side.
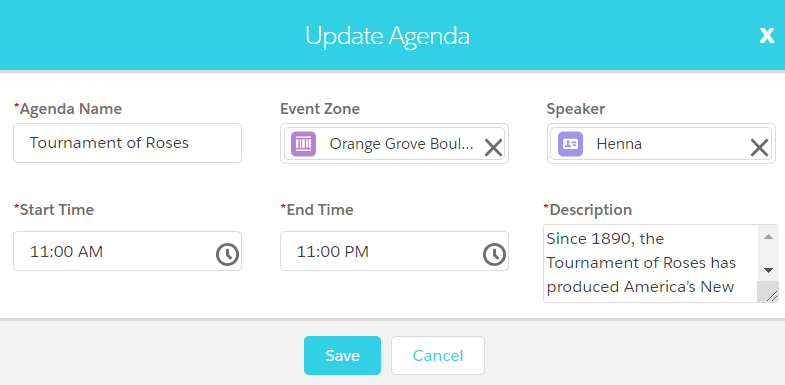
- Click the Add button to create a new Agenda record.
- Enter the name of the Agenda and select the event zone and a speaker.
- Enter the session Start and End time of the agenda and enter the Description of the agenda.
- Click the Save button to create the agenda for an event.
Step 9
Logistics
Logistic is nothing but a resource management in case of events such as travel, accommodation and many more, which can be handled by the organisers of the event.
Create a logistics
- Click the Logistics tab from the menu bar on the left-hand side.
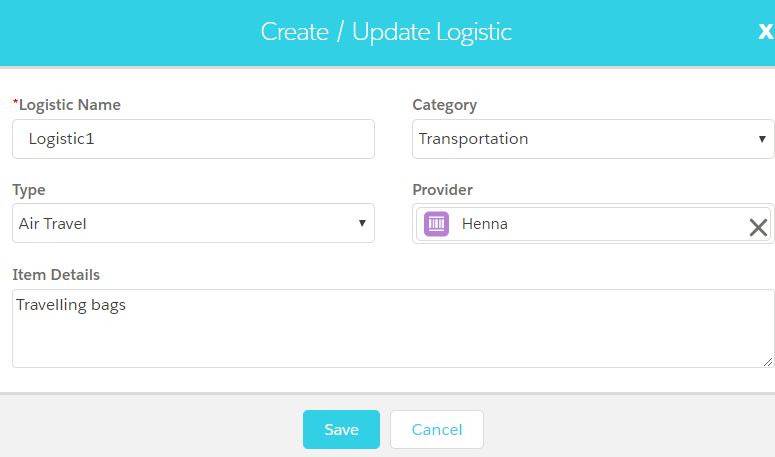
- Click the Add button to create a new Logistics record.
- Enter the name of the Logistic
- Select the Category and Type of the logistic
- Select the logistic Provider and enter the Item Details.
- Click the Save button to create the logistic record for the event.
Step 10
Sponsorship
- Sponsorship is a financial invests made by the organisers for the success of Events.
Create Sponsorship
- Click the “Sponsorship” tab from the menu bar on the left-hand side.
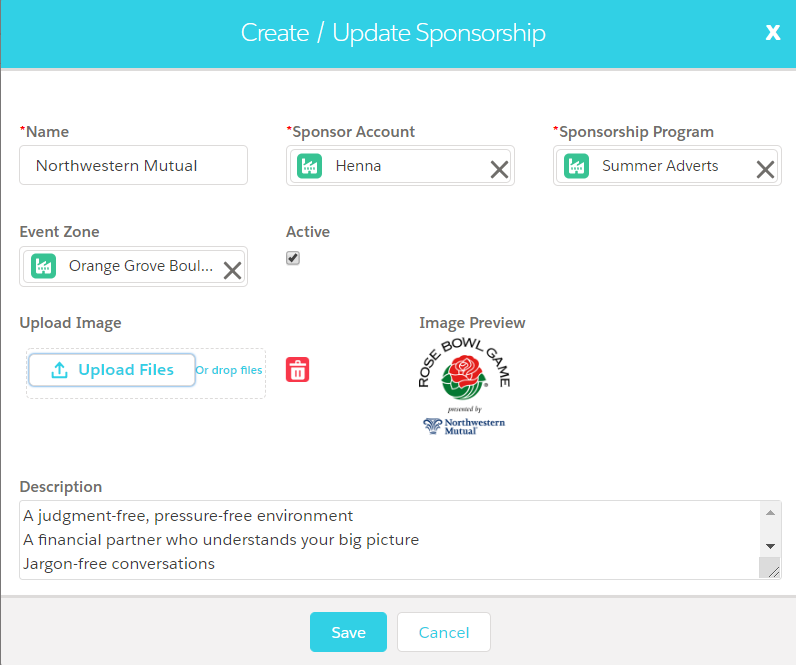
- Click the “Add” button to create a new Sponsorship record.
- Enter the Name of the sponsor and select the Sponsor Account
- Select the Sponsorship Program and Event Zone
- The system allows you to upload the image of sponsors
- Select the Active checkbox and enter the Description about the sponsorship.
- Click the save button to create the sponsorship for the event.
