User Journey Appointment Booking Flow
Appointment Booking
The system admin can configure sites and communities to reach the application offerings to the external audiences. This makes it convenient for guest Users to book an appointment.
For the Appointment flow the customer can book the appointment by following these steps:
Step 1
- Logging into the URL provided by the Organiser of the Appointment. https://event-rok-com-developer-edition.ap15.force.com/EventRokAdmin/CommunityLanding
- Click on url the page will navigate to the given screen below:
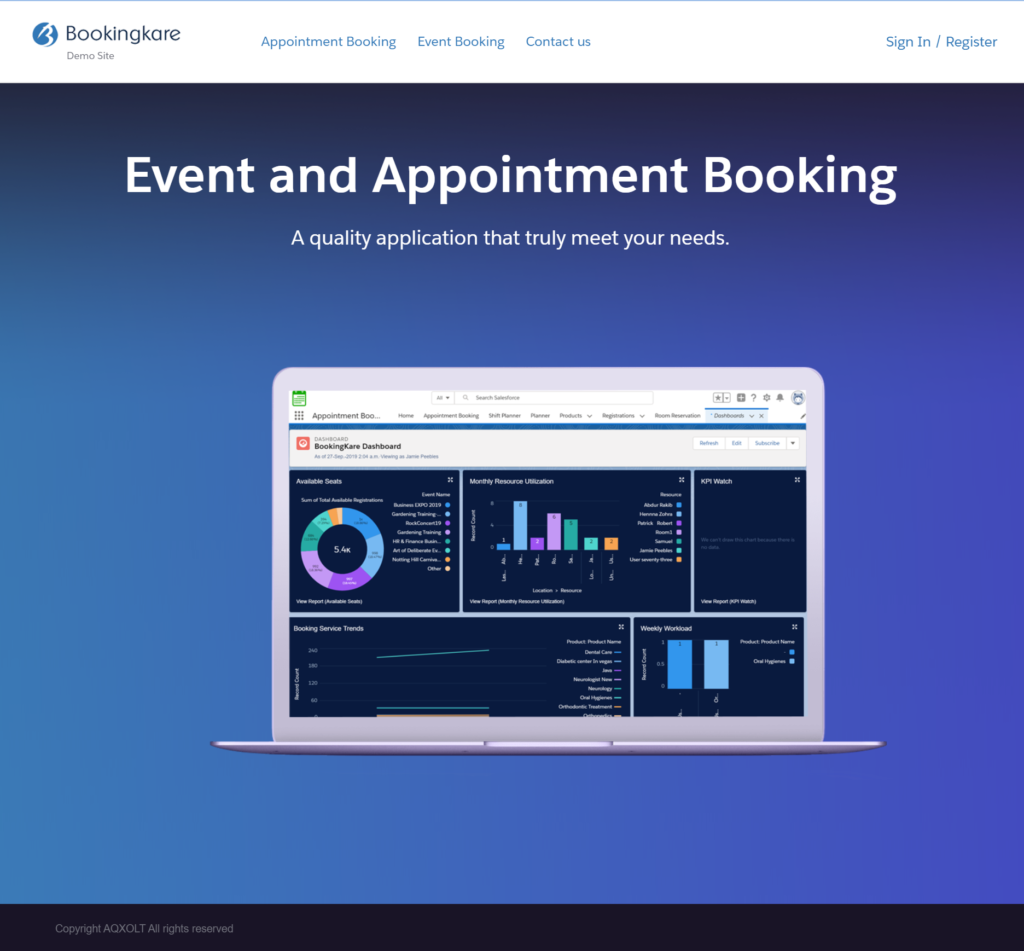
- Click on the Appointment booking tab and the page will navigate to the given screen below:
Step 2 Appointment Topic Select the appointment topic that you are looking forward to booking.
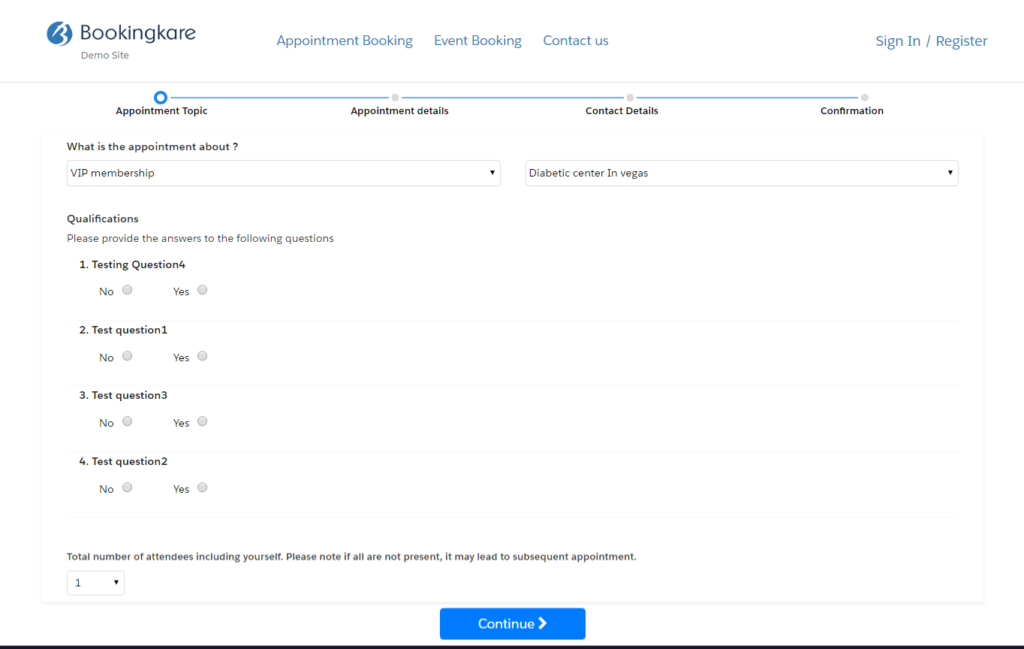
- Select the membership program from the first drop-down list.
- And subsequently, Select the Services that are Available for that selected membership program.
- Provide the answers to the following mentioned questions.
- Select the total number of attendees including yourself in the given box.
- Click on the continue button, the page will navigate to the Appointment.
Step 3 Appointment Details Select the preferred date, time, and location of the appointment.
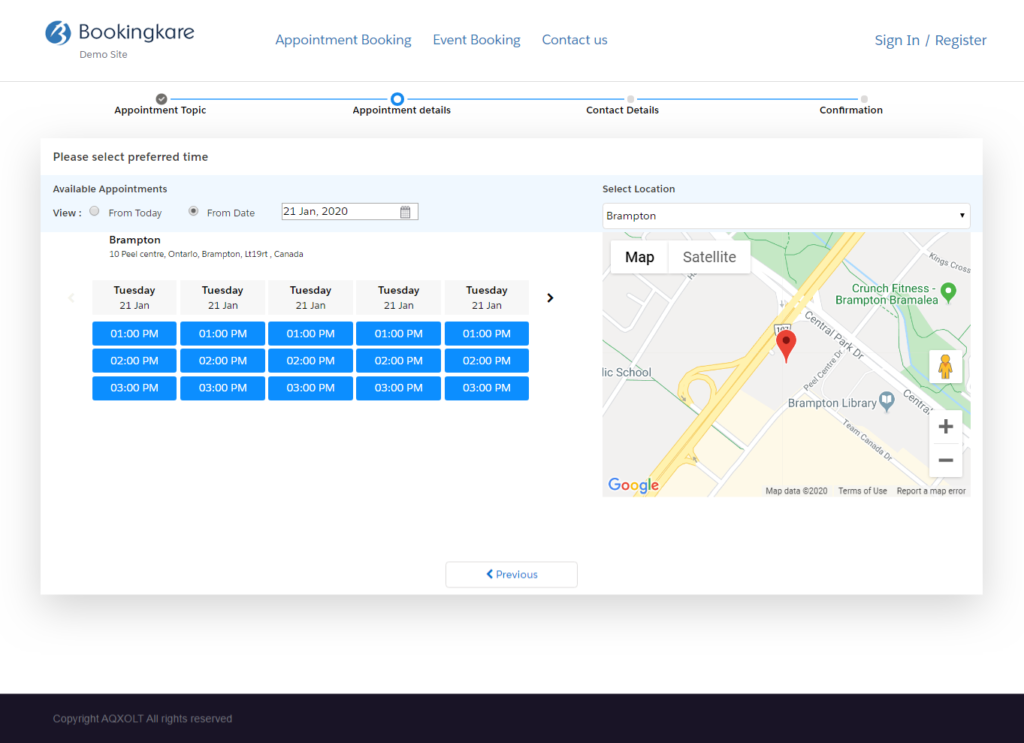
- Select the preferred date.
- Select the preferred location.
- Select the preferred time slot and the page will navigate to the Appointment Contact Details Page.
Step 4 Appointment Contact Details Page Enter registration details.

- Fill in your contact details and mandatory fields.
- Click on Continue.
- The page will navigate to the appointment confirmation.
Step 5 Appointment Confirmation
This is the final process of appointment booking flow, Here your appointment will be confirmed and booked successfully.
- Appointment booking confirmation details will be presented on the screen as shown below.

- Clients will also receive Appointment Confirmation Mail, Invoice, and badge to registered Mail Id
- After the Customer gets the Registration Email, he can cancel or reschedule the registration of the appointment by clicking on the manage booking button, it will navigate to the booked details screen, we have a cancel button if we click on that a popup will appear by saying yes or no if we click on yes then the registration of the event will be canceled and the customer gets cancel notification to his email address.
Step 6 Appointment Confirmation Email
On successfully booking the appointment. An appointment confirmation email alert message with the details, along with the Badge attached will be sent to the registered user’s email address.
Manage Booking You can manage your appointment by clicking on the Manage Booking button present on the email template.
- Click on the Manage button.
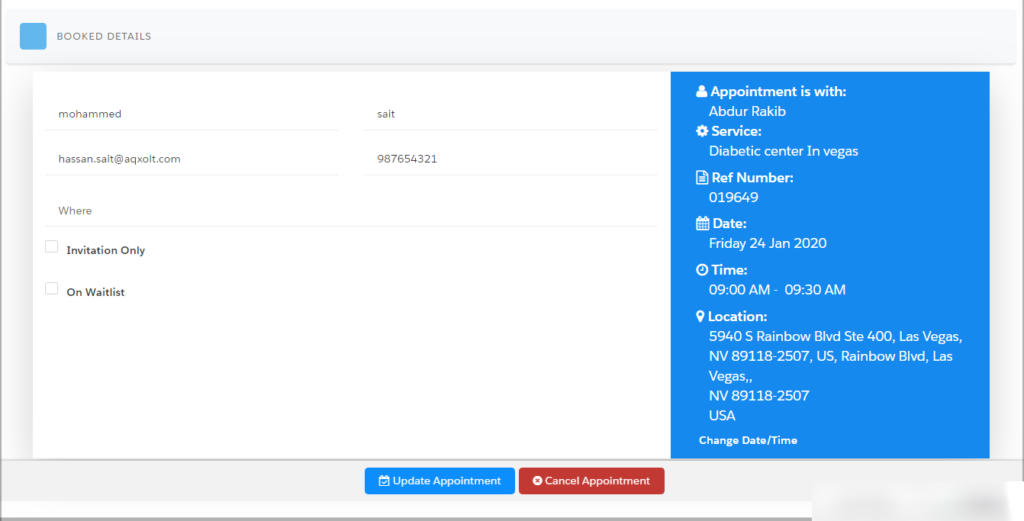
- The page will navigate to the Booked Details page which has the following features available:
- 1. Update Appointment. 2.Change Date/Time(Reschedule). 3. Cancel the Appointment.
Step 7 Update Appointment
You can update your Appointment details by clicking on the update appointment button.
- Modify your contact details which you like to update.
- Click on Update Appointment to Update your modified details.
Step 8 Appointment Reschedule (Change Date/Time)
You can reschedule your appointment according to Your preferred schedule.
- To reschedule the appointment Click on the change Date/Time link which is been provided on the booked details page as displayed on the above screen.
- Click on the Change Date/Time link, The page will navigate to the given screen below:
- Select the preferred schedule date and time and click on Update Appointment.
- On clicking on the update Appointment the Rescheduled
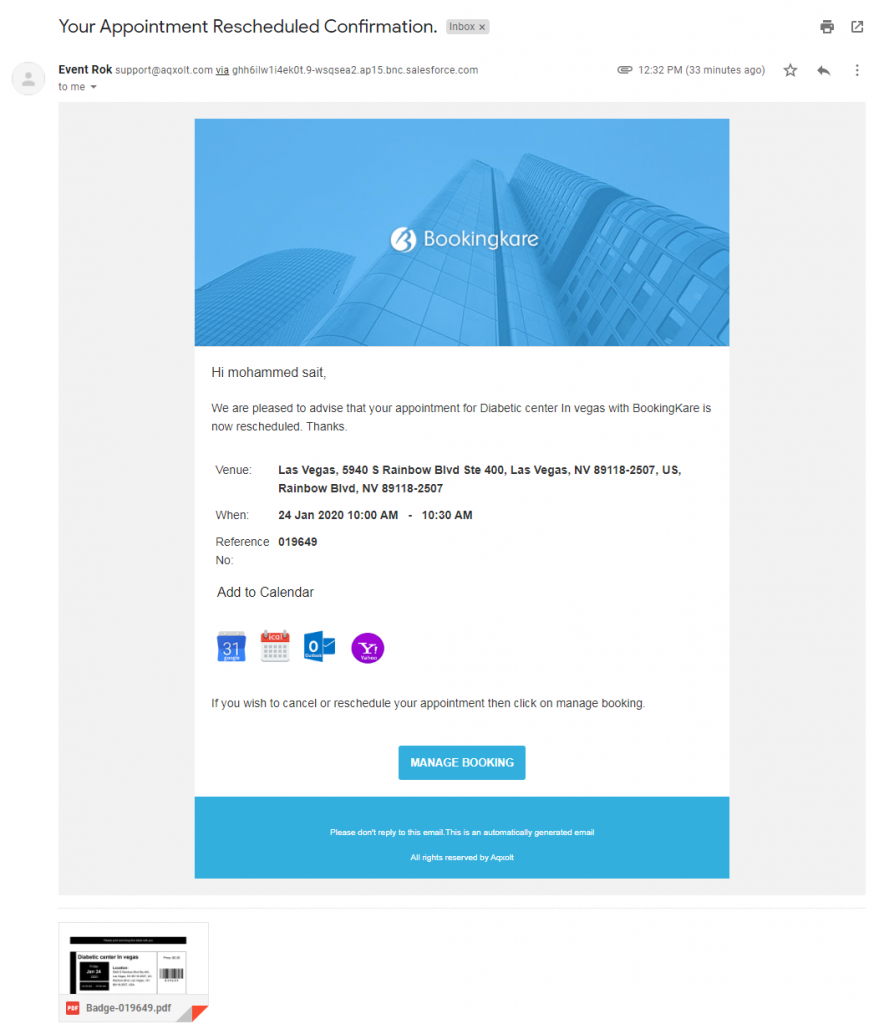
Step 9 Appointment Rescheduled Email
- On Rescheduling the Appointment i.e on Change Date/Time of the appointment.
- An appointment Rescheduled Confirmation email alert message will be sent to the registered user email address as displayed on the screen below.
Step 10 Cancel Appointment
- Click on the Cancel Appointment button to cancel your Appointment.
- On clicking the cancel Appointment button, The page will navigate to the given screen below:
- Enter the reason for cancellation.
- Click on Yes to Cancel the Booked Appointment., The page will navigate to the given screen below:
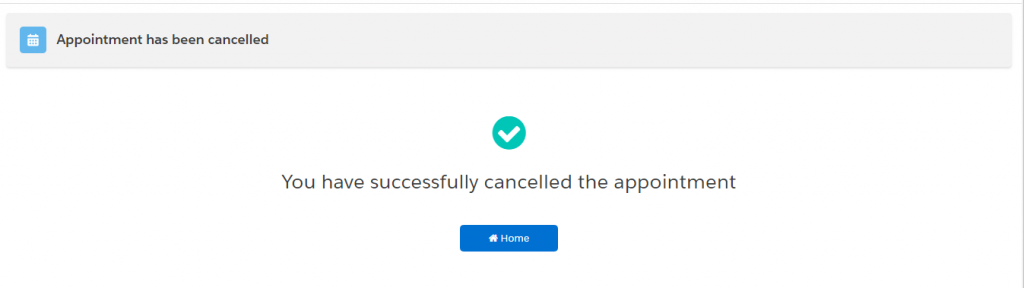
Step 11 Appointment Cancellation Email
- On clicking the cancel Appointment button.
- An appointment Cancelled email alert message will be sent to the registered email address as displayed on the screen below.

