Installation Guide
- Follow the steps if you are a new user.
- The quickest way to assess if BookingKare is the right fit for your organization is by creating a free trial. You’ll immediately be taken to a salesforce registration page, where you need to fill out the form and start a free trial. On the app exchange BookingKare listing click the “Get It Now” button and login to the salesforce free trial instance and from here you can start to evaluate BookingKare in depth.
- Installing BookingKare in your Salesforce instance
- Follow these steps
Step 1
- Navigate to the Booking Kare Appexchange listing and click on the “Get It Now” button. https://appexchange.salesforce.com/appxListingDetail?listingId=a0N3000000DphNeEAJ
- Log in to your Salesforce instance
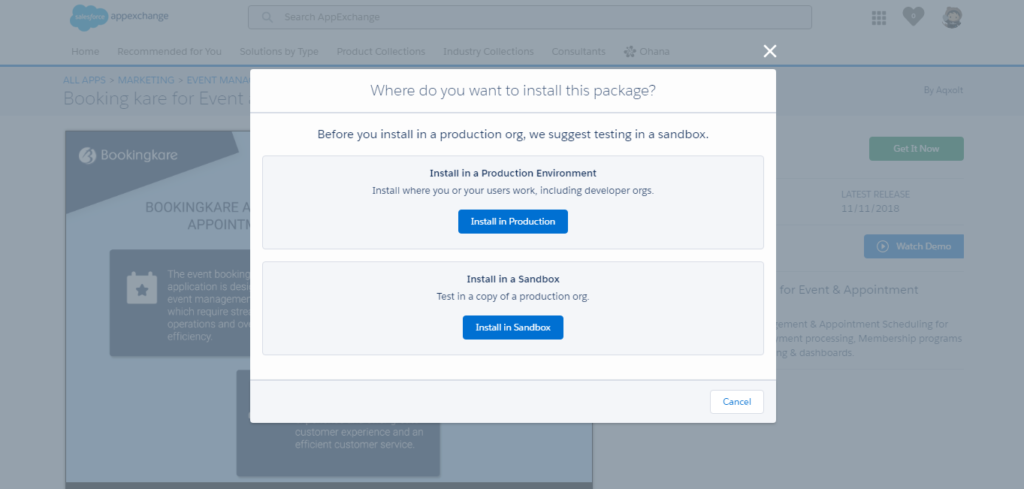
- Choose the instance on which you want to install and click.
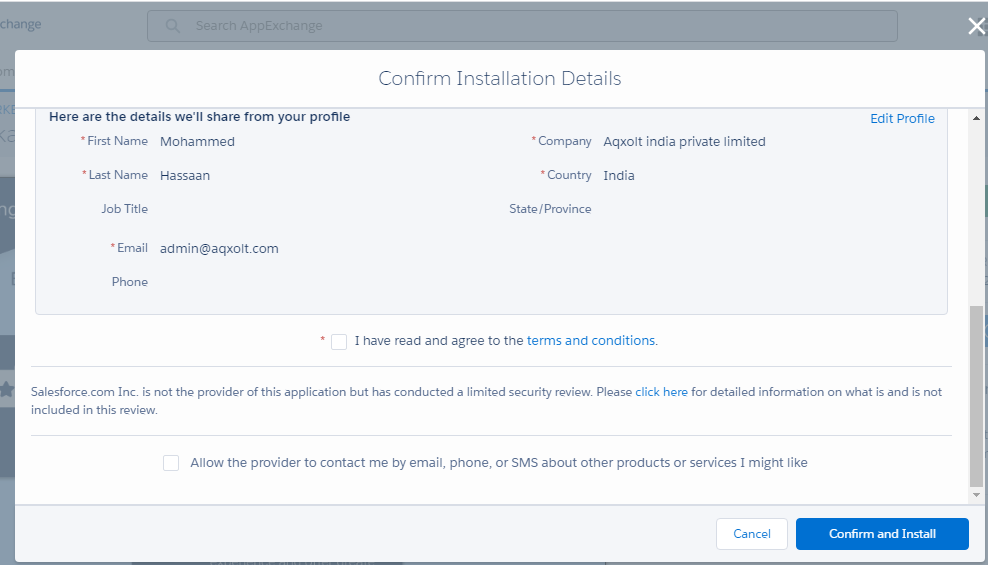
Step 2
- Confirm the installation details and click the “Confirm and Install” button.
Step 3 Licensing Your users for BookingKare
- Navigate to Setup> Apps > Packaging> Installed Packages.
- In the list of installed Packages find the BookingKare app and click the “Manage Licenses” option under the actions section.
- Click on the “Add User” button in the Licensed User section.
- Select the user from the Available Users section; click the “Add” button.
Validate Your Installation
