Check-In Check-Out Mobile App
Booking Kare – Check-In/Check-out
Booking Kare is an application to process Check-In/Checkout flow i.e., checking in the clients into an event/appointment and checking them out from an event/appointment.
This app also provides an easier way for the users to check In and Check out using QR-Scanner /Barcode scanner for the members registered to any events or appointments.
How to install Booking Kare Application.
The Booking Kare application can be installed from the App Store or Play Store like any other application on your Tablet, iPad, or Phone.
Open the application and enter the username and password of your salesforce org.
Note: Log in with credentials that have registrations booked for events/Appointments.
The below screen appears when Logged in successfully.
How to scan a Barcode/ QR code to check-in customers for Events or Appointments.
- The ‘Registrations’ tab shows the registrations made for the particular event or Appointment.
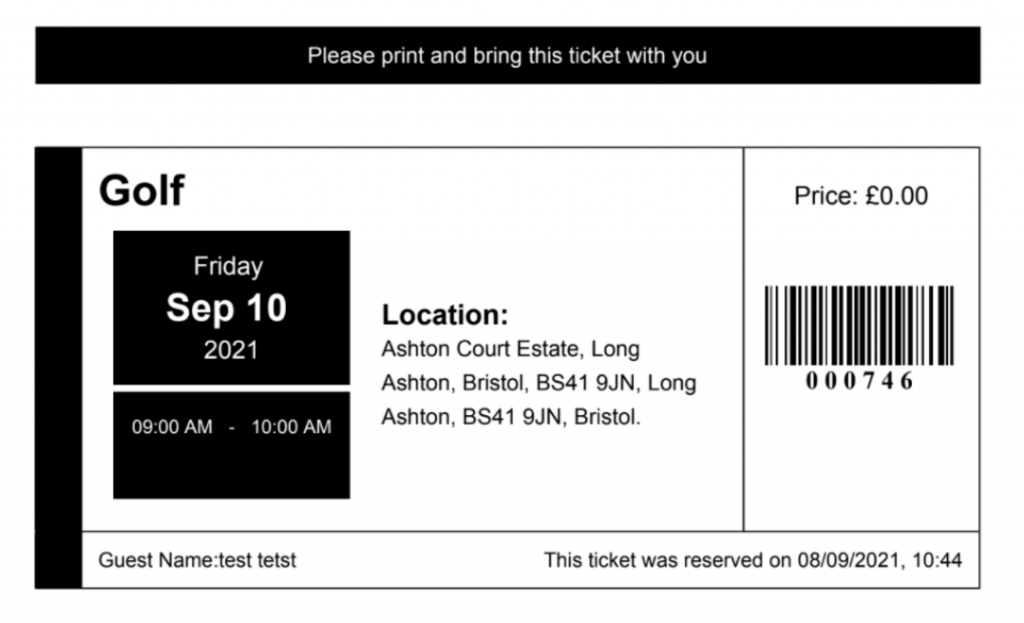
2. Once the registration is booked, the customer receives an email with the ticket/slip which they must bring with them on the day of the event or appointment.
Enter the Number of People attending
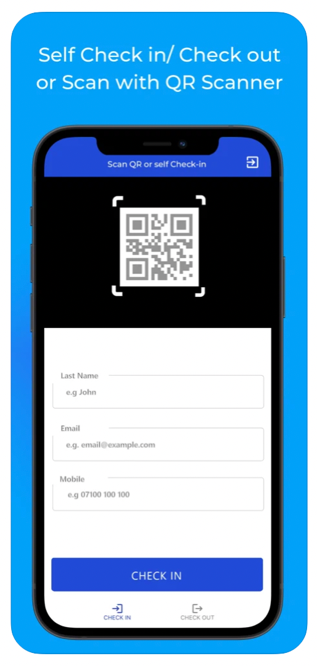
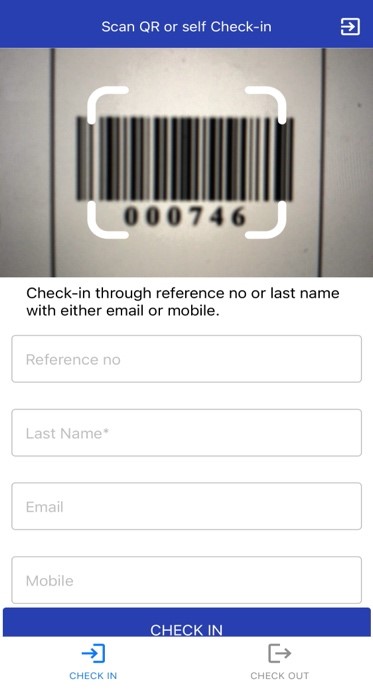
3. Scan the barcode/QR code on the ticket.
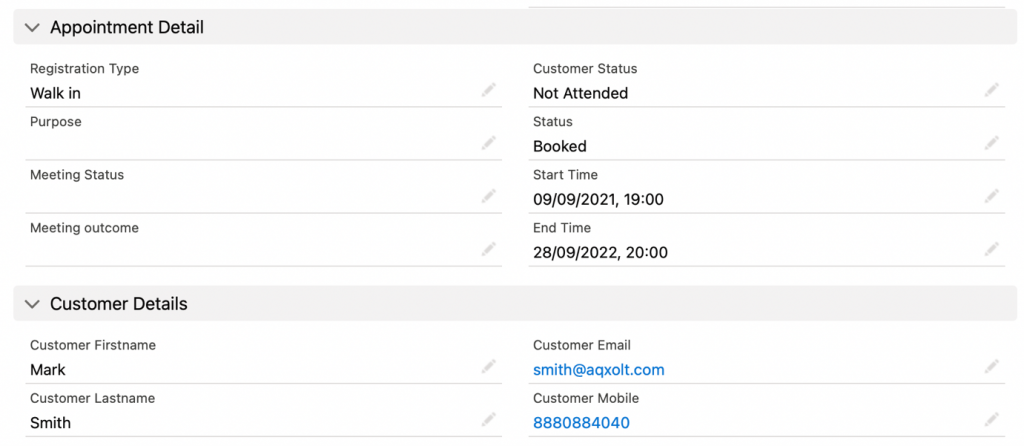
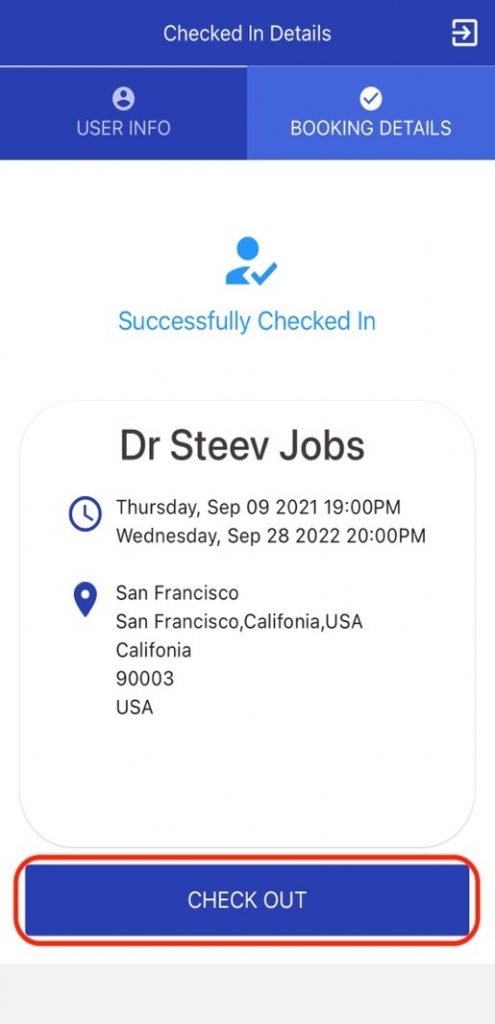
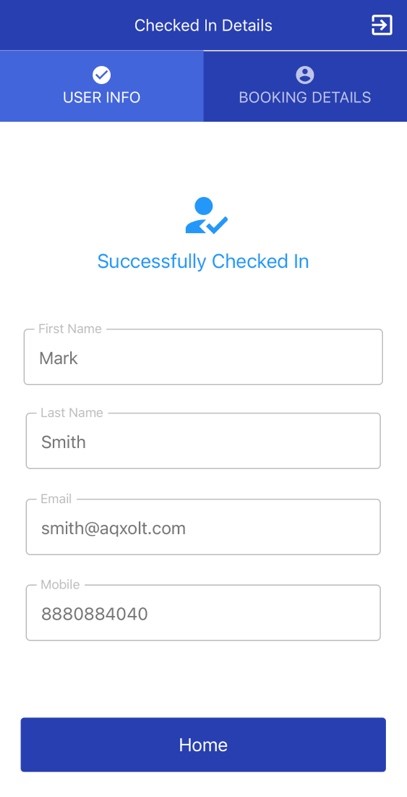
4. The customer is checked in automatically and the ticket checker can verify details on this page.
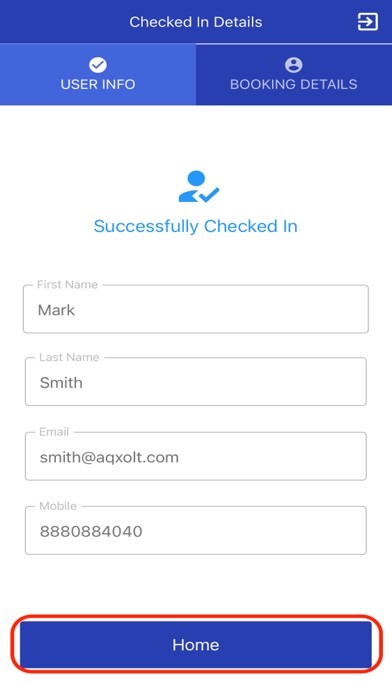
5. Click the ‘Home’ Button to Scan the next person.
6. Click on the Booking Details tab to view Event/Appointment details.
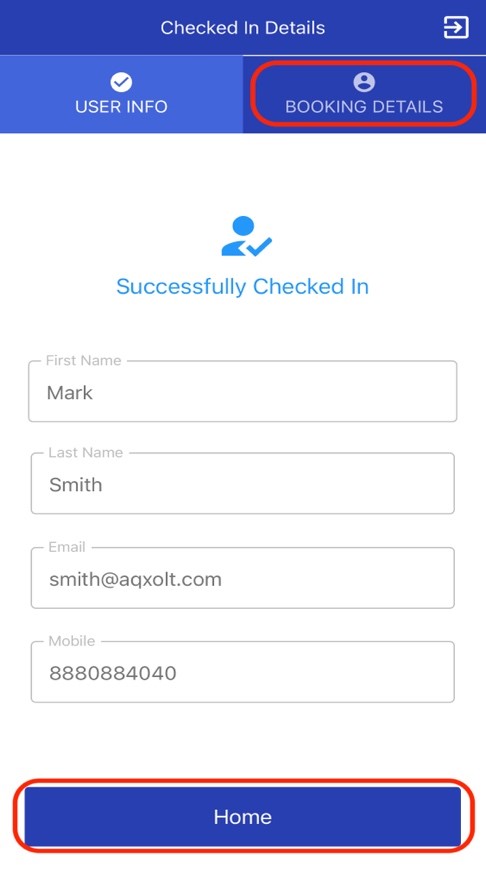
7. You can also check out the same person from this page by clicking on the ‘Check out’ button.
How to scan a Barcode/ QR code to check out customers for Events or Appointments.
- Click on the ‘Check out’ Button on the Home Page and scan the code.
Note: The person should already be ‘checked In’ before using check-out process.
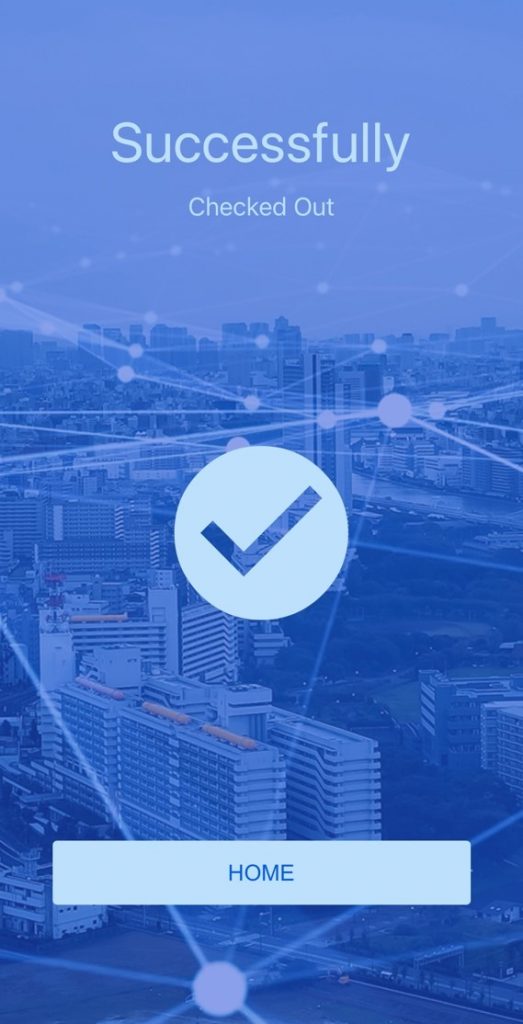
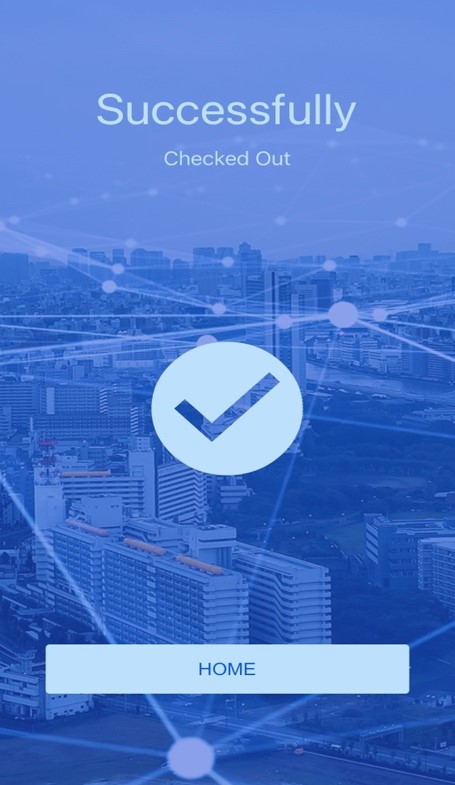
2. The customer is checked out successfully and click on home to scan the next person.
How to scan a Barcode/ QR code to check In/check out customers for Events or Appointments if they do not have the ticket/slip.
- From the home page Enter the registration number from the booked Event/appointment.

2. Click on the ‘Check In’ button. The person will be checked in Successfully!
If the Registration number is not available or lost
- Enter the ‘Last name’ and one of the following ‘Email or phone’
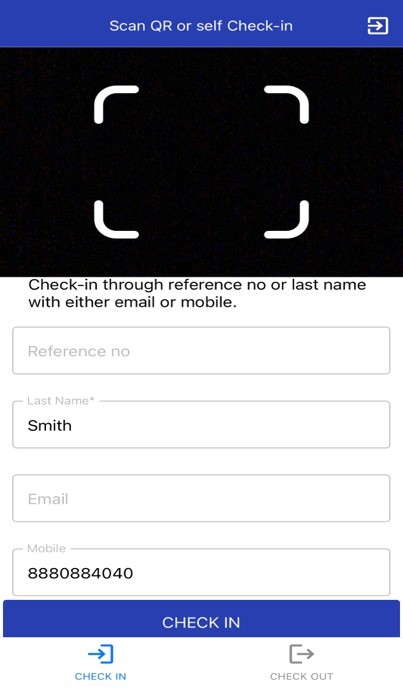
3. Click on the check-in Button the person will be ‘checked In’ successfully!
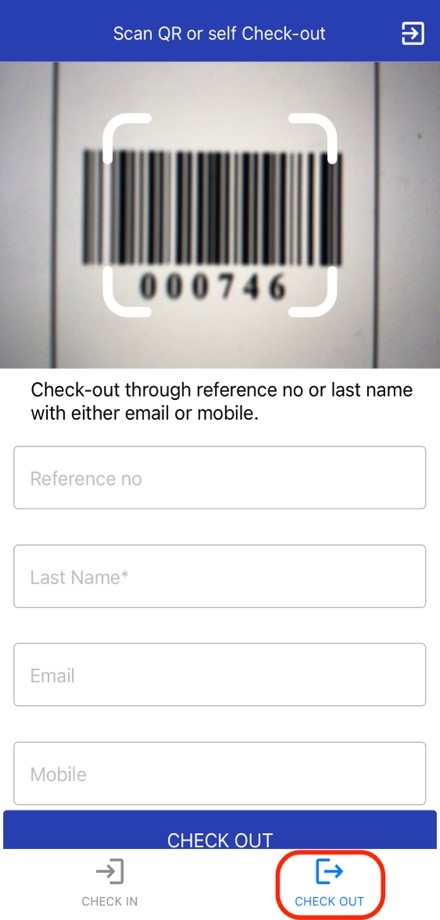
How to Check out the customer who does not have the ticket/slip.
- From the home page click on the ‘check-out’ button
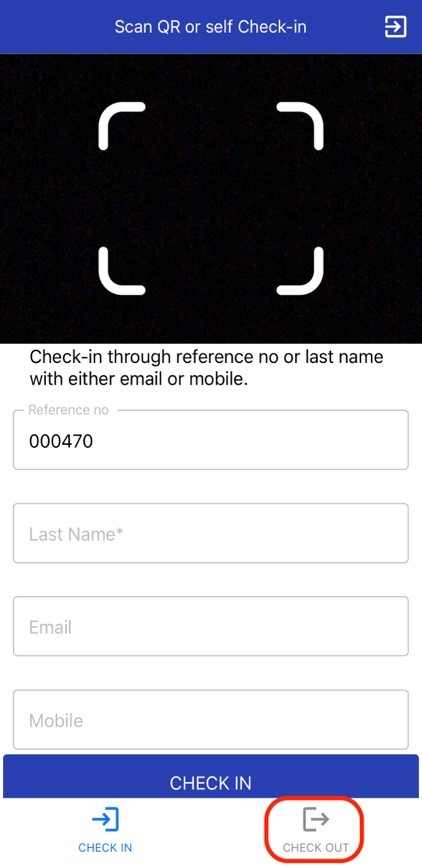
2. Enter the details like registration number or last name and phone/Email.
3. Click on the ‘Check-out Button.
4. The person is checked out Successfully!